Documentation Index
Fetch the complete documentation index at: https://docs.flickerwall.com/llms.txt
Use this file to discover all available pages before exploring further.
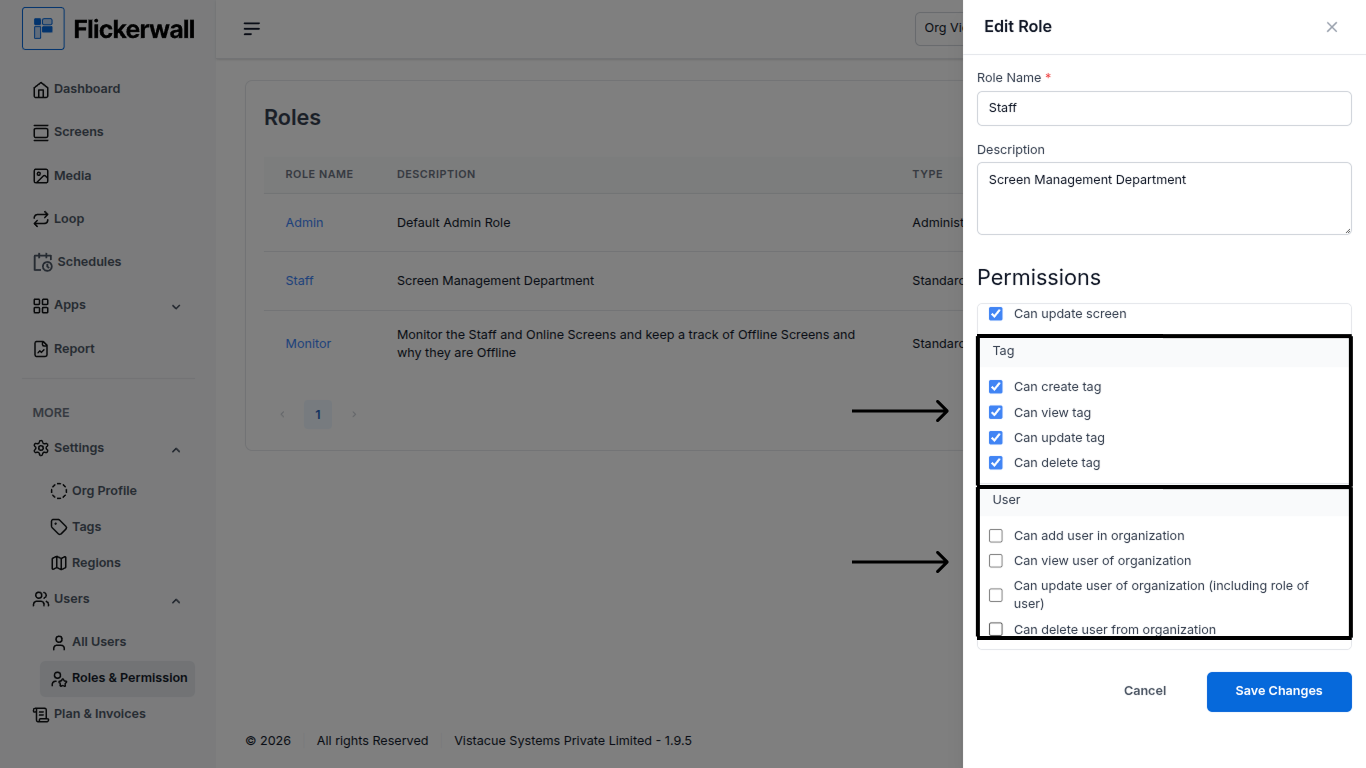
How to Edit permissions of a Role?
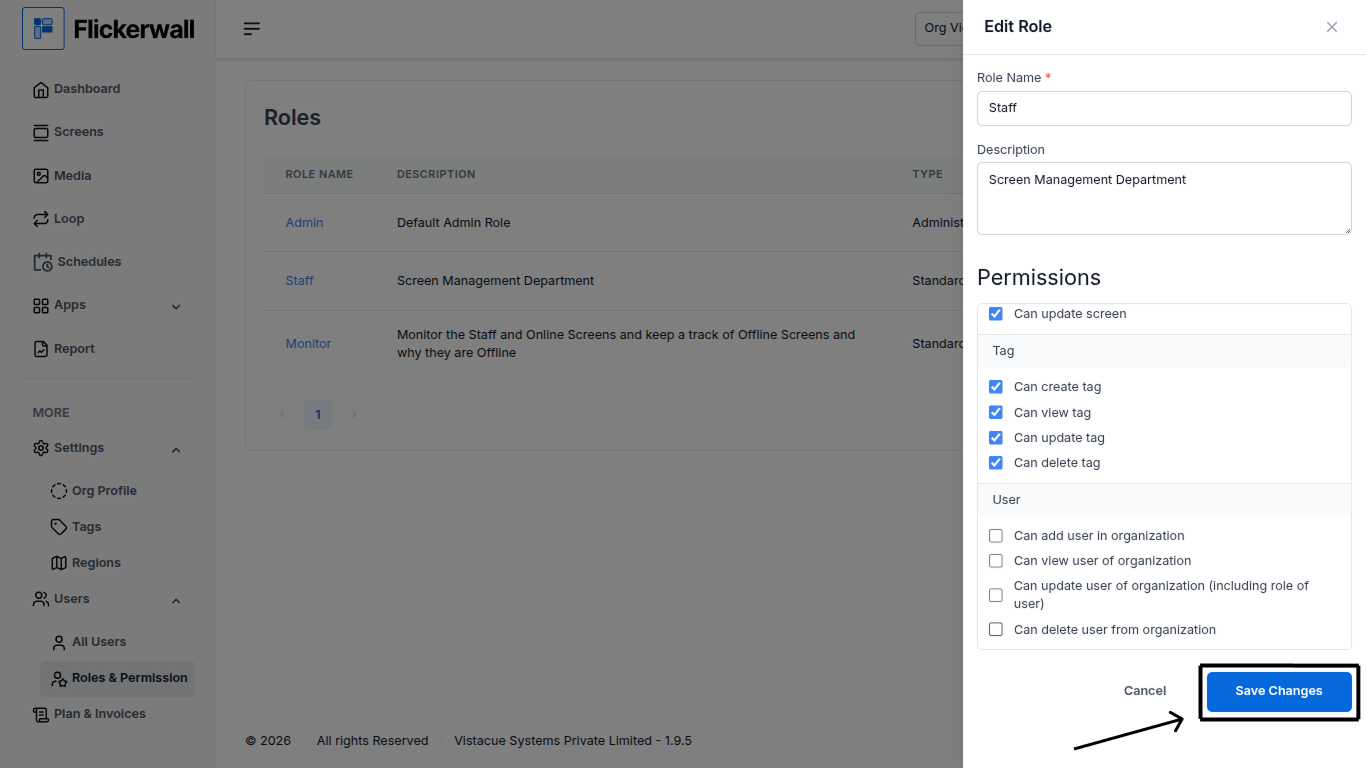
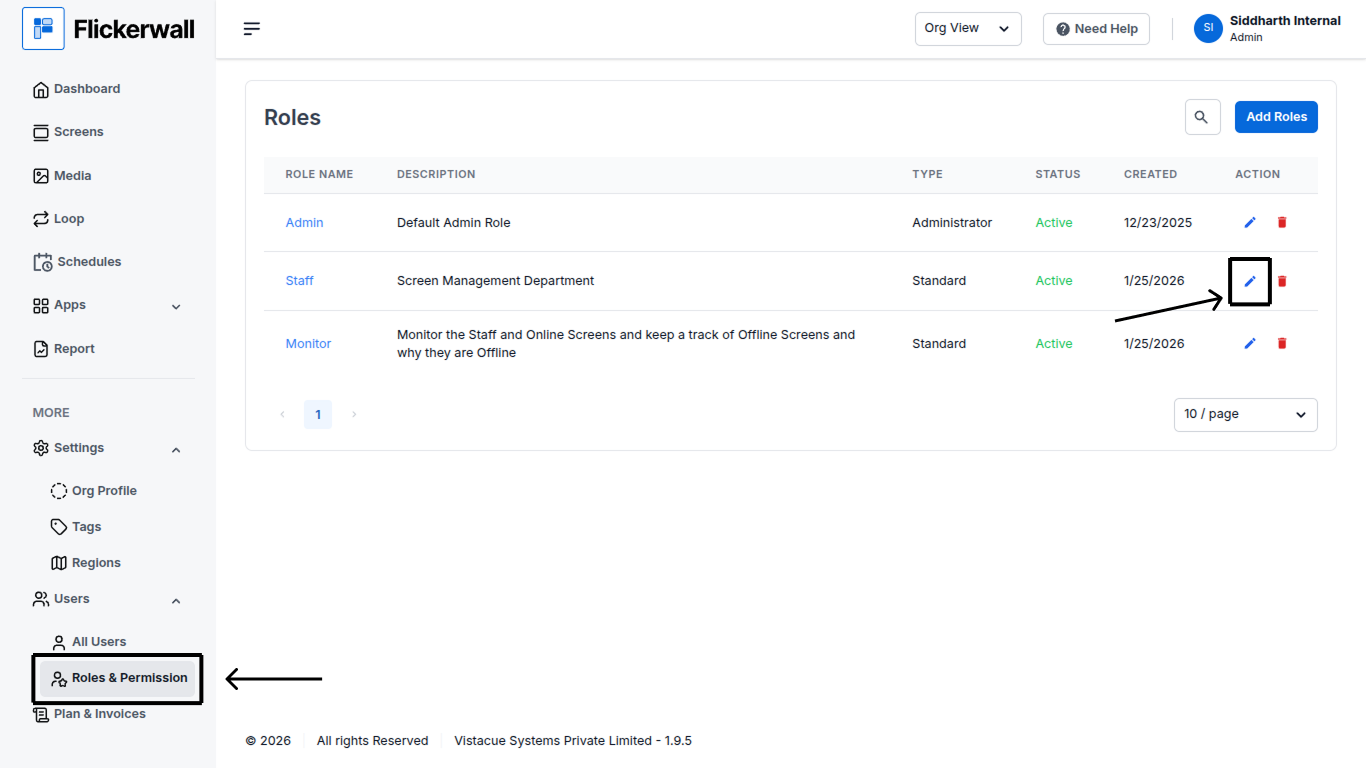
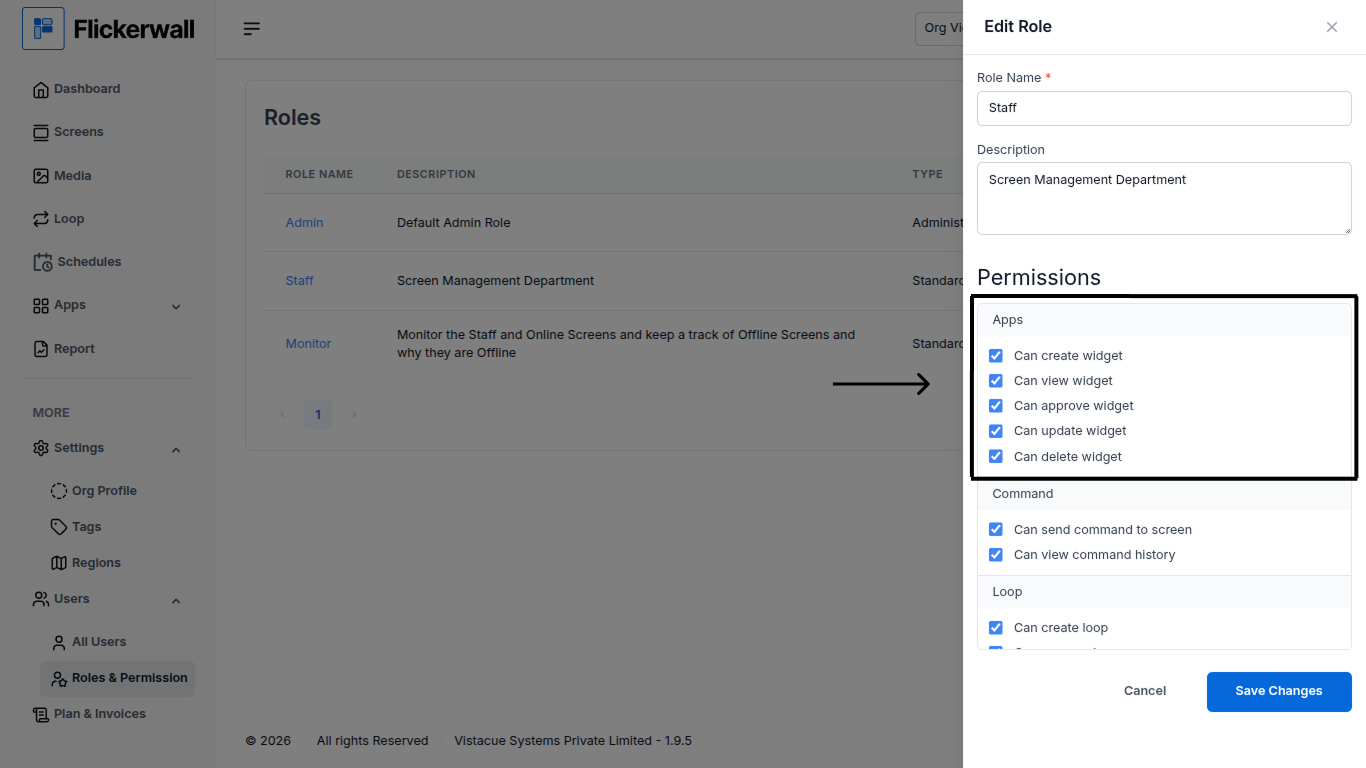
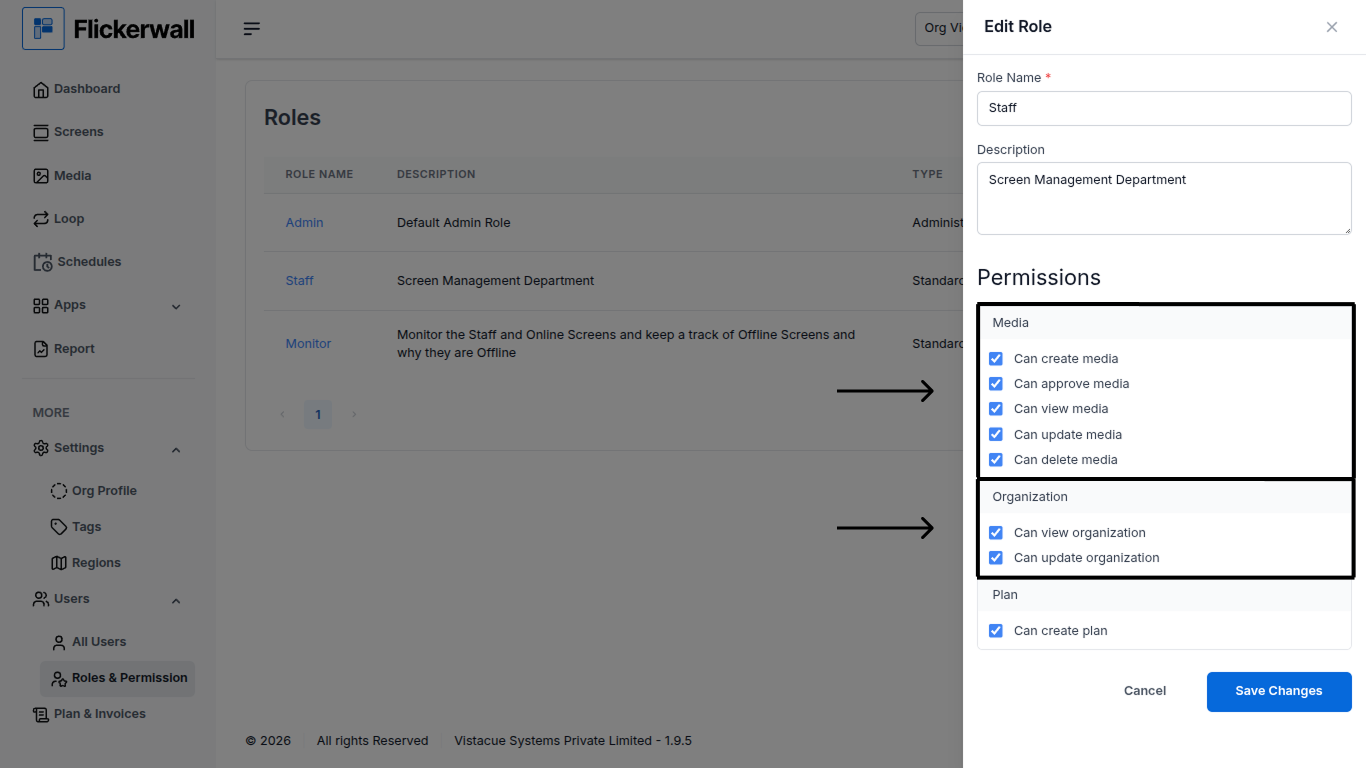
Learn how you can Edit permissions of a Role so when you assign a role to a user he automatically has some features Accessible and not have access to someStep 1 Go to the “Roles and Permission” Module and find the Role you want to Edit Click on the “Edit” icon on the Role to Edit it Now you can Decide which of the Following Permissions the “role” has or does not have (Note: Following is just an example you can Enable or Disable any Permission of the role as you like)
- Example for “command” : If you Disable “Can send command to screen” the user with this role will not be able to send any command to the screen.
- Example for “Loop” : If you Disable “Can create Loop” the user with this role will not be able to create any Loop

- Example for “Media” : If you Disable “Can create media” the user with this role will not be able to create any media.
- Example for “Organization” : If you Disable “Can update organization” the user with this role will not be able to update organization
- Example for “Plan” : If you Disable “Can view plan” the user with this role will not be able to view any plan.
- Example for “Quick Play” : If you Disable “can assign quick play to screen” the user with this role will not be able to assign any quick play to screen
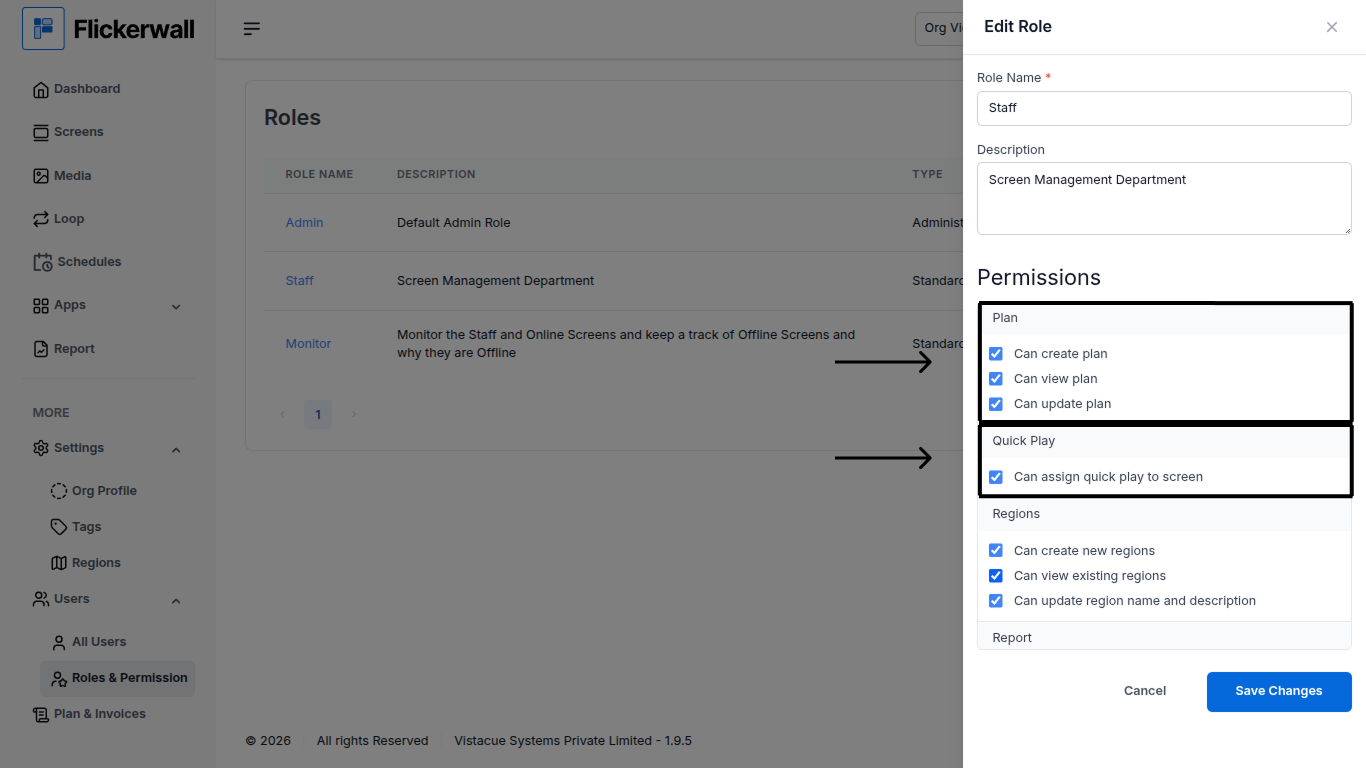
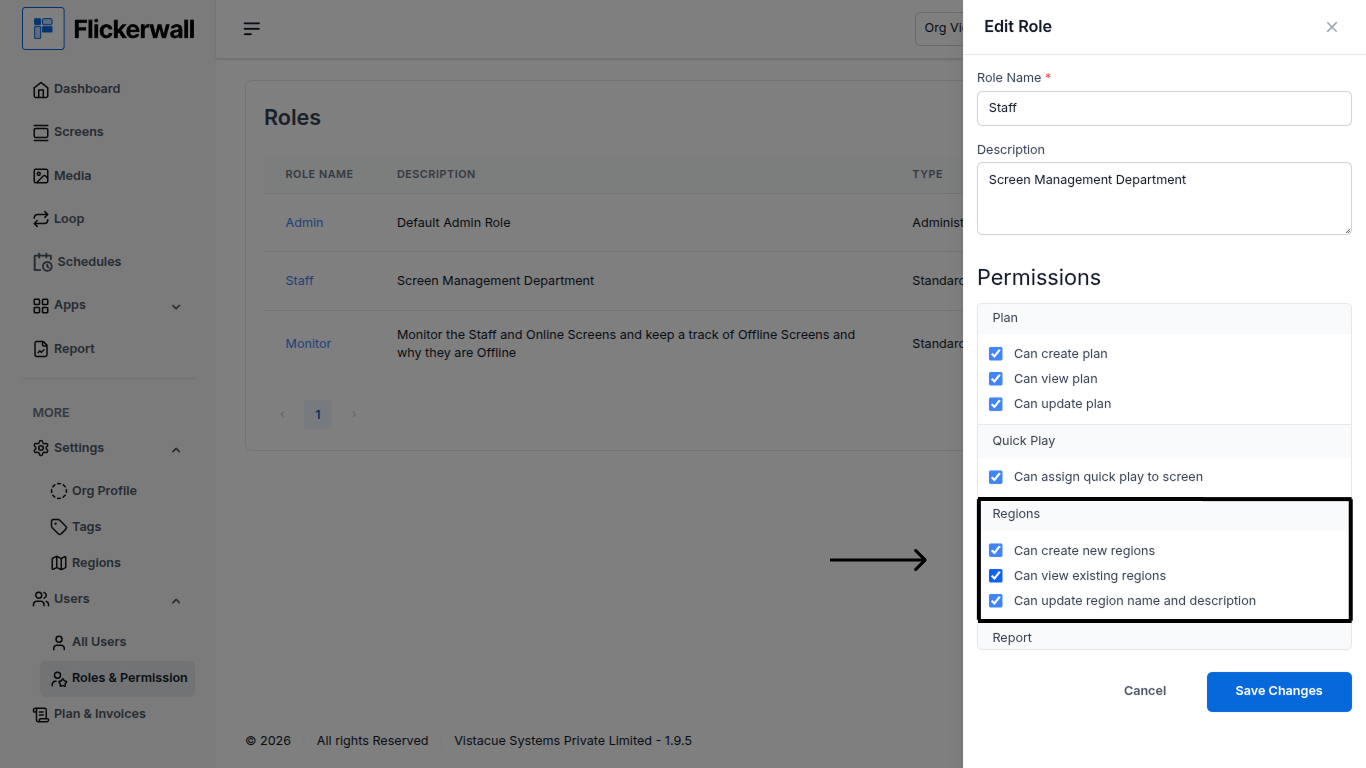
- Example for “Region” : If you Disable “Can create new region” the user with this role will not be able to create any new regions
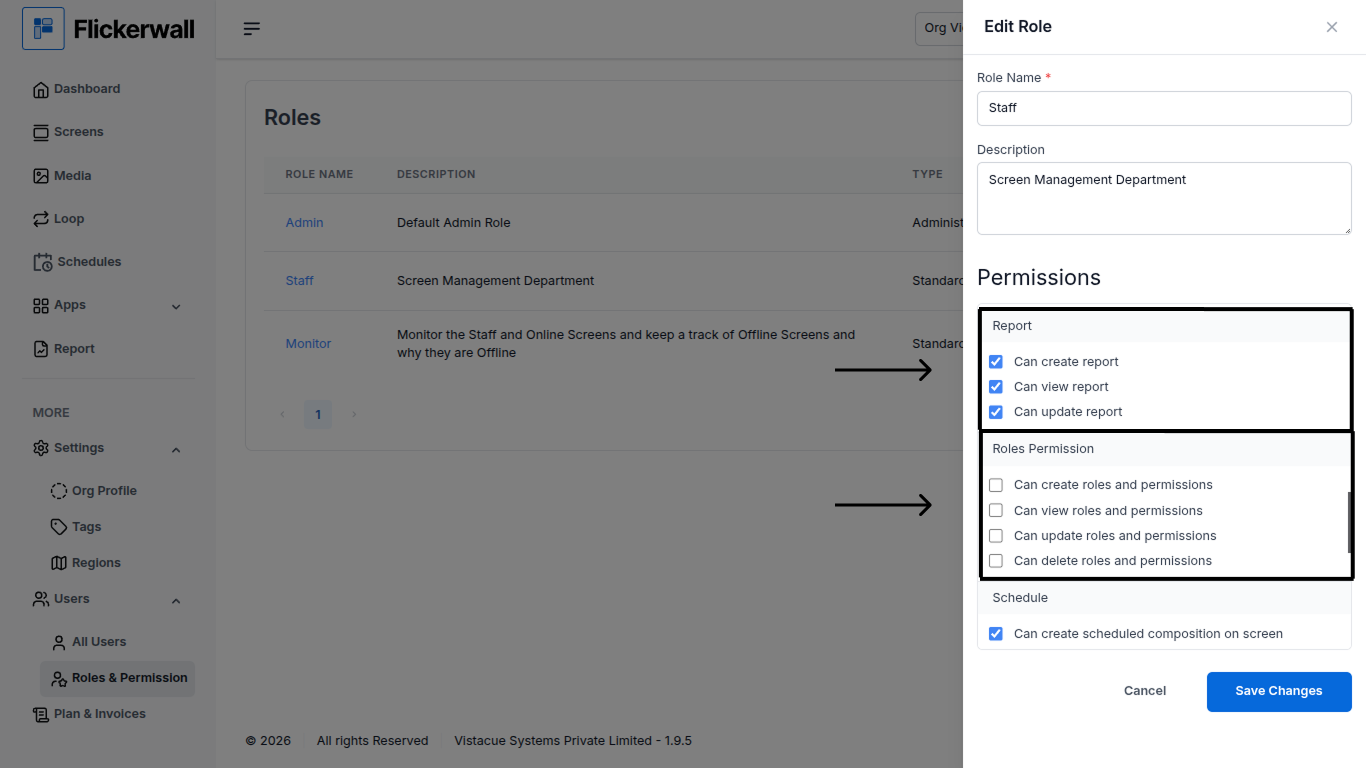
- Example for “Report” : If you Disable “Can create Report” the user with this role will not be able to create any reports.
- Example for “Roles Permission” : If you Disable “Can create roles and permission” the user with this role will not be able to any new roles
- Example for “Schedule” : If you Disable “Can delete schedule” the user with this role will not be able to delete any existing Schedule
- Example for “Screen” : If you Disable “Can create screen” the user with this role will not be able to create any new screen
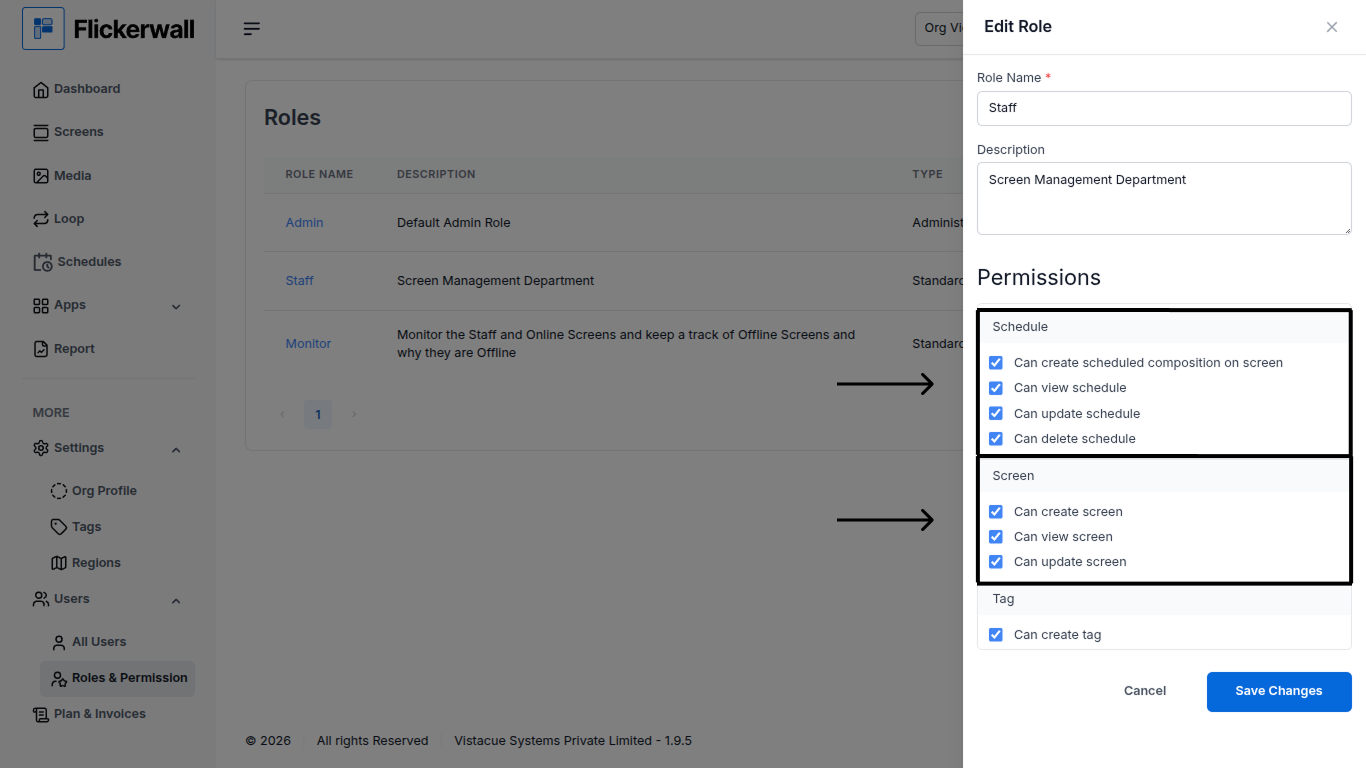
- Example for “Tag” : If you Disable “Can create tag ” the user with this role will not be able to create any new tags .
- Example for “User” : If you Disable “Can add user in organization” the user with this role will not be able to add any new user in the organization